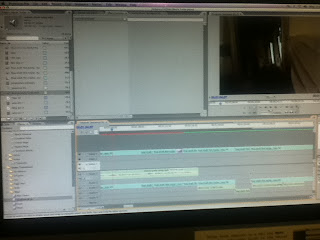
Before we went on to use Adobe Premier Pro to finish our trailer we used imovie to crop and add effects to some of our clips. As we thought we could use some more advanced software to add in tranistions and some final effects we went onto use Premier Pro.
Here is our trailer so far in imovie.
Before our trailer was finished we had to crop and add some effects and transitions onto our clips.
To begin we cropped some our unnecessary moments in our clips. To begin we cropped the 'house scene'. We felt like some of this needed to be cut out as it wasn't important and it went on for too many seconds and we didn't want our trailer to be too long. We also cut our some of the 'poppy field' scene which was because it went on for too long and our sound did not last for long enough so we decided to cut it. The section we cut was not important as it was just two of our actresses was standing there and it was unnecessary for our trailer.
We also decided to cut the scene where it is just an empty chair. We did this as the audience could understand what has happened without us pausing on it for too long.
We added a transition at the end of our trailer in between the date of release and the title of the film. This is because we felt as if they should be broken up as they follow on from each other. We used a transition called fade to white. We liked this as it made the title fade away into the white which we have symbolised as purity and innocence throughout the trailer.
Here are some images showing our editing process when using Adobe Premier Pro.

Finally we put all of our clips together to make our trailer. It now all flows together and we have listened to it so that we have made sure that the clips are in the right place to go with the sounds effects we have placed on.
I had a big impact on editing as i added on the text and cropped all of the clips to make them into a continuous trailer.


No comments:
Post a Comment